Editorial Illustration - Process
Here’s a sneak peak into the process I went through last week when developing an illustration for an upcoming publication. I get asked over and over how I make my illustrations. It really depends on what the feel I’m looking for with the work and how the illustration will be utilized – but the method I will explain to you is what I am most commonly doing lately.
This is the info I was given from the client and the article: “The company we’re featuring, Darkhorse Analytics, works in data analytics and visualization. Their biggest challenge, that we’re highlighting in the article, was around log flow (how a tree becomes lumber and all of the logistics of that process from sapling to delivery.”

Reference Image
We brainstormed at the studio and Rachel thought of a great idea: blending the horse into the negative space of trees, looking upward. I used a photo from my recent trip to Kananaskis as reference (the picture was from laying on my yoga mat at the campsite) and developed the sketch concept. Usually I do a few concepts, but the turn around was just a couple days, so I worked with only one idea, which they thankfully liked.
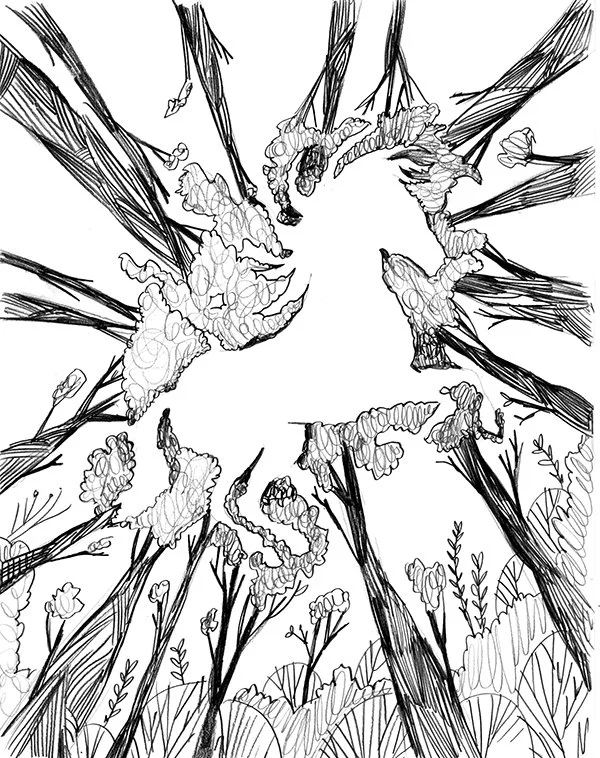
Sketch concept
Once the sketch was approved, I created the ink drawing on high quality paper (and hung on the clothes line, hee hee), scanned it in and did the colouring in photoshop. I have been using the Kyle Webster digital brushes lately and love them.
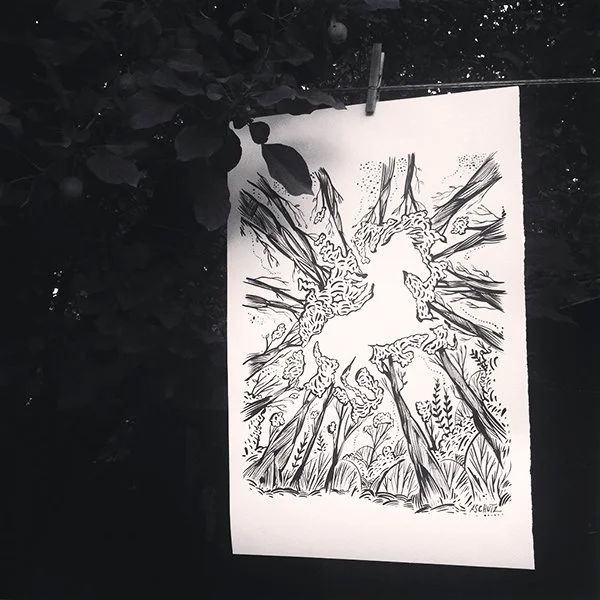
Ink drawing
All in all, the entire process took about 4.5 – 5 hrs. When the art is finished, it is sent off to the client/designer for layout. I do find its weird sometimes handing illustration work off to another designer. This is because I am a designer… but in cases like this I was not hired for that roll. Its a great lesson in being less of a control freak.
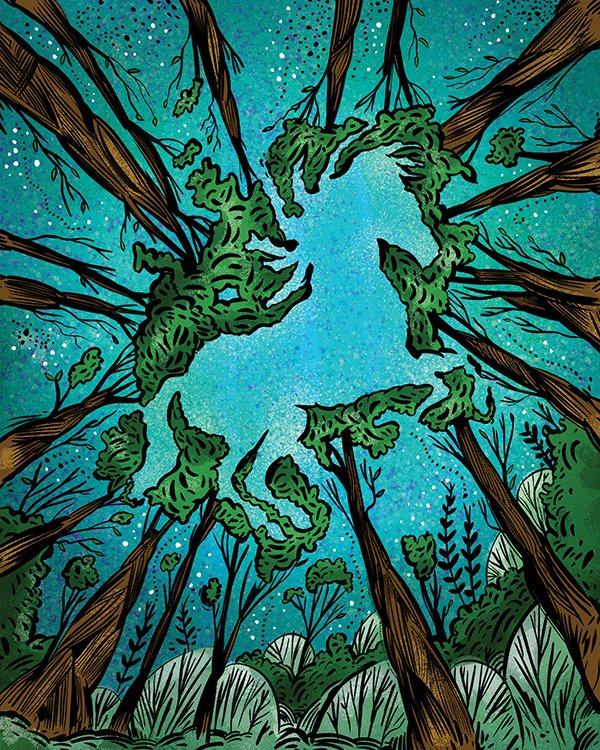
Final artwork
Images of final magazine by the designer, Farouq Samnani.

